In the years following my first sailing lesson at age 14, I often found myself wondering what it was like to do the things I saw other sailors doing.
As a teenager I saw Hobie Cat sailors one windy afternoon on Lake Mojave, flying a hull and capsizing, and then righting the cat and taking off again. How did they do that?
In college I saw Laser sailors practicing roll tacks on Mission Bay, and I walked by a Hobie 16 skipper with his cat tipped over on the beach, adjusting the mainsail battens to change the sail’s shape. Why were they doing that?
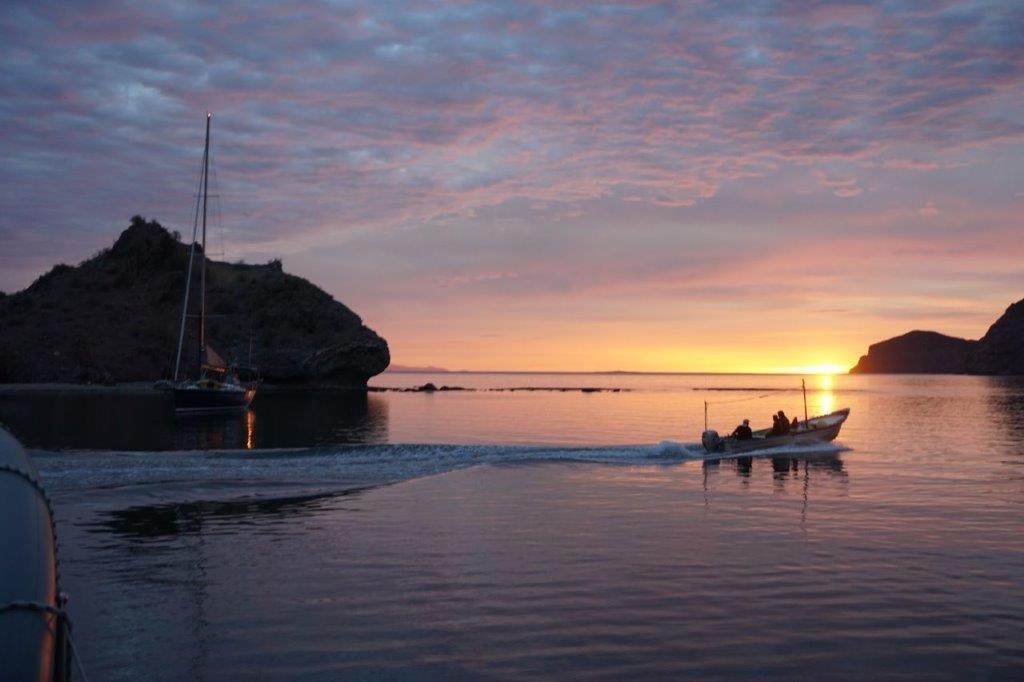
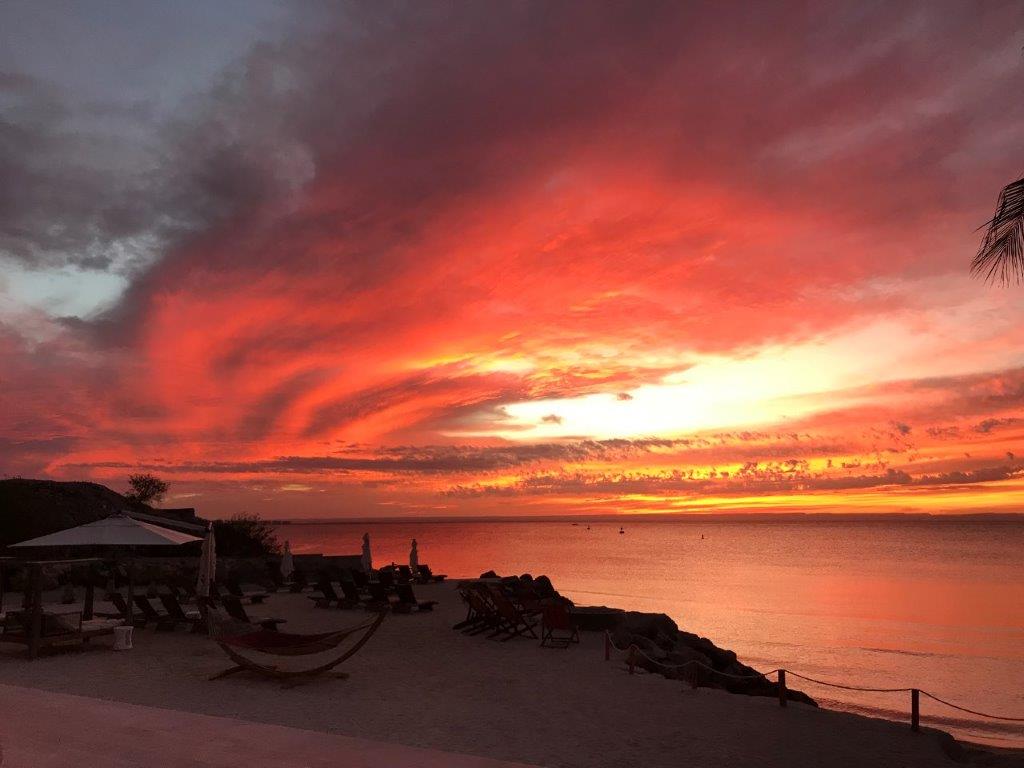
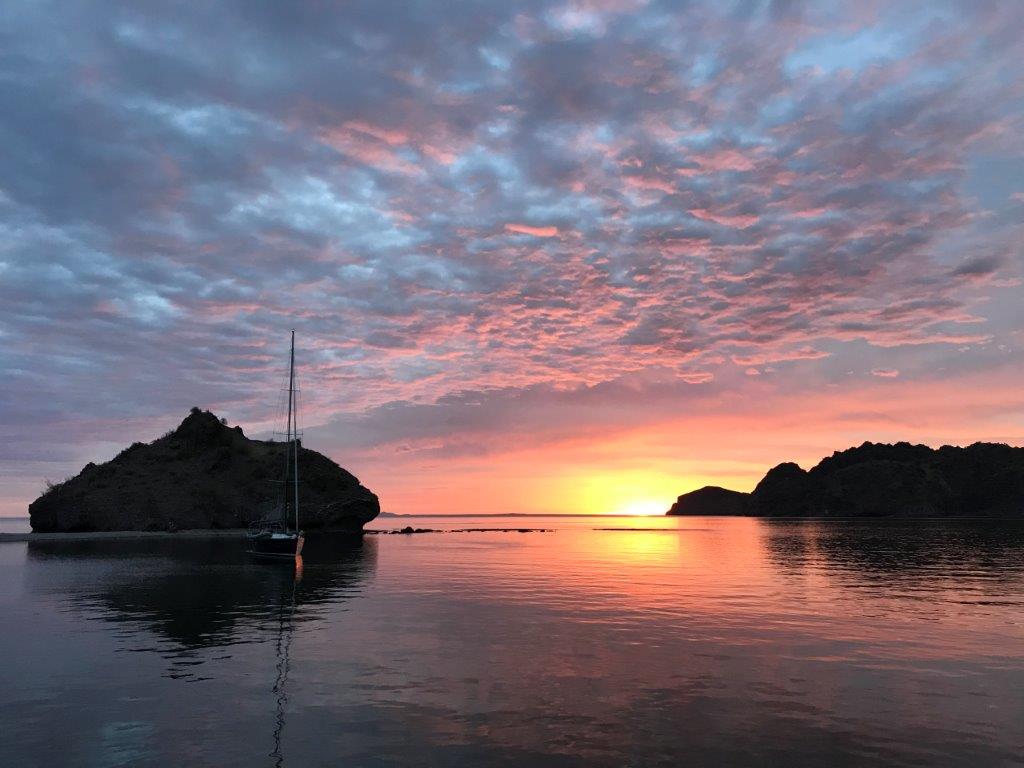
On vacation I saw cruising boats at anchor in the bay at Cabo San Lucas and thought, what does that take, and how can I do something like that?
You Need More Than Books and Your Own Trial and Error
Over the years I learned by reading, asking questions, and through my own trial and error. But you will need so much more, unless you have an extra decade and a few extra lives to survive the mistakes. You need outside help to make the great leap forward. It happened for me in the mid to late ‘90s with three fundamental lessons that came from a deeply experienced sailor who had been where I wanted to go, and knew what I needed to know. Mark Howe of Aventura Sailing Association in Dana Point was my original instructor-mentor, and I have him to thank for these.
The Great Leap Forward
The first of these experiences was on a multi-day trip from San Diego to Ensenada, Mexico and back, right around the time of the Newport – Ensenada race. It was on our trip back north, on a black night with a double-reefed main that Mark said, let’s put the autopilot on, I need to start dinner.” (He was making bouillabaisse!) I started looking for a breaker on the electrical panel, because I hadn’t yet seen any gear at the helm, and he said, “No, just get the sails balanced and lock down the wheel.” So, the boat didn’t have an autopilot after all – this is just how he got it done. And Mark strapped himself in at the galley, and we sailed right through dinner and on through the following morning, with our course meandering no more than 5 – 10 degrees. I learned that a boat can steer itself if we handle the sails correctly, and that it really is possible to eat well and be comfortable on a windy night off the coast of Baja California. (Now I teach this technique on Catalina and Channel Islands cruises.)
Second, during another multi-day trip, we anchored bow and stern, inside one the largest sea caves in the world – the Painted Cave, on Santa Cruz Island. I never even imagined this kind of thing was possible. You would never aspire to do this on your own – unless that is, you were on a boat that did it, and saw how it was done. And we had a champagne brunch, and took a dinghy trip into the blackness at the end of the cave where the Sea Lions were barking like mad. Wow. (Now I back a 42 footer into the cave - without anchoring - about 4 times a year on Channel Islands cruises.)
Inside the Painted Cave on the Catalina 42, Betty
Third, I had a heavy weather experience at Santa Cruz Island that showed me some things about boat handling and decision making. We had a double reefed main and a full genoa, and were hard on the wind from Ventura to the Scorpion anchorage. When we went to reef the genoa, we had to ease the sheet so we could roll it in part way, and the sail began to flog. Within about 10 seconds, the sail just exploded, having split at the seams about half way up. We rolled in as much of it as we could, and anchored near Smugglers while Mark weighed the options. He decided we should sail back to Ventura, and we did so on a double reefed main alone, making 6-7 knots the whole way. Another cruisier in the harbor came over to talk to us, and ended up loaning us a spare headsail from his own boat. I learned that sails have to be handled with care in heavy conditions, and sometimes you just have to head back to the harbor. And, that other cruisers can be generous people.
That was part of my foundation for being able to handle my first strong gale in the Northern Channel Islands as an instructor - see the video below. I’ve been through a few of these now and while I don’t go looking for trouble, I love to teach the required techniques when the wind pipes up.
The Best Way to Become a Better Sailor
The final lesson is that even after all the reading, talking to others, and trial and error chartering on your own, the best way to become a better sailor is to get out on the water with someone who knows what you want to know, who’s been where you want to go, and can answer questions you didn’t know enough to ask.
That’s the best way to make a great leap forward with your learning. That’s how we teach. That’s really what Santana Sailing is here for. Get that same kind of experience by joining us on one of these Sailing Adventures: